Introduction
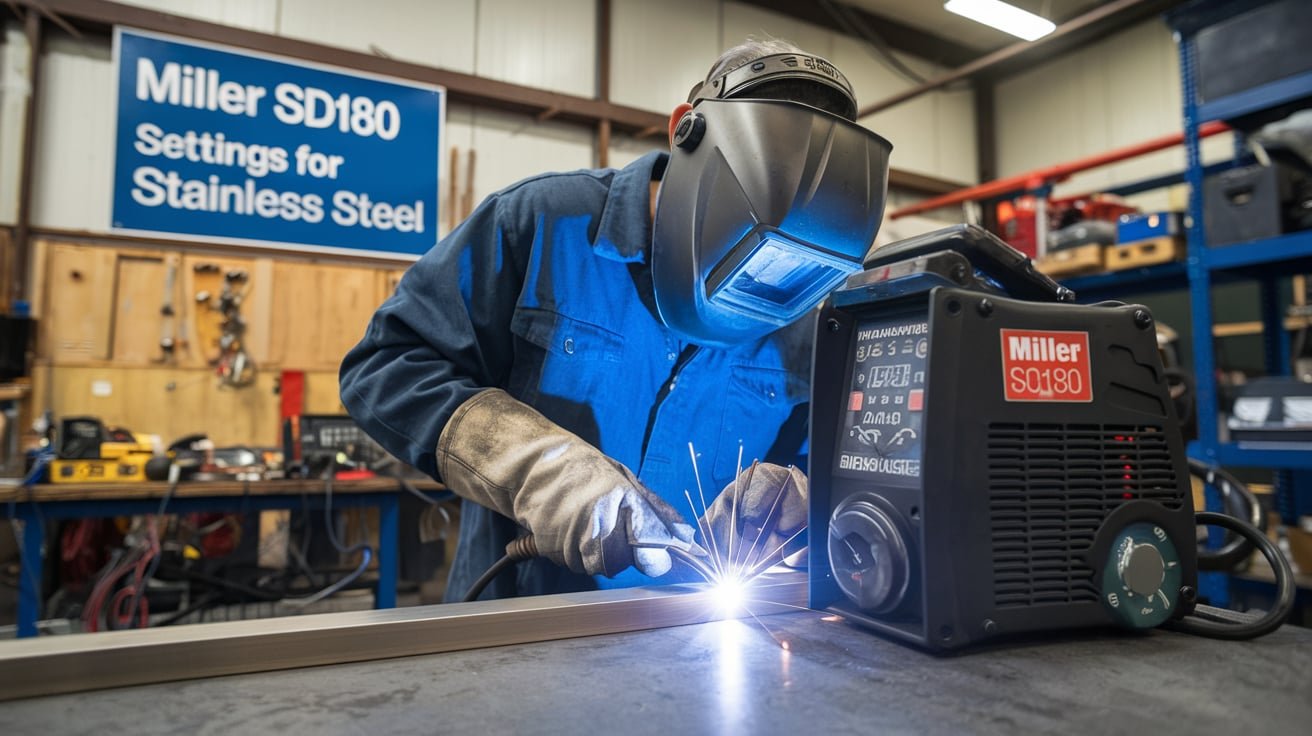
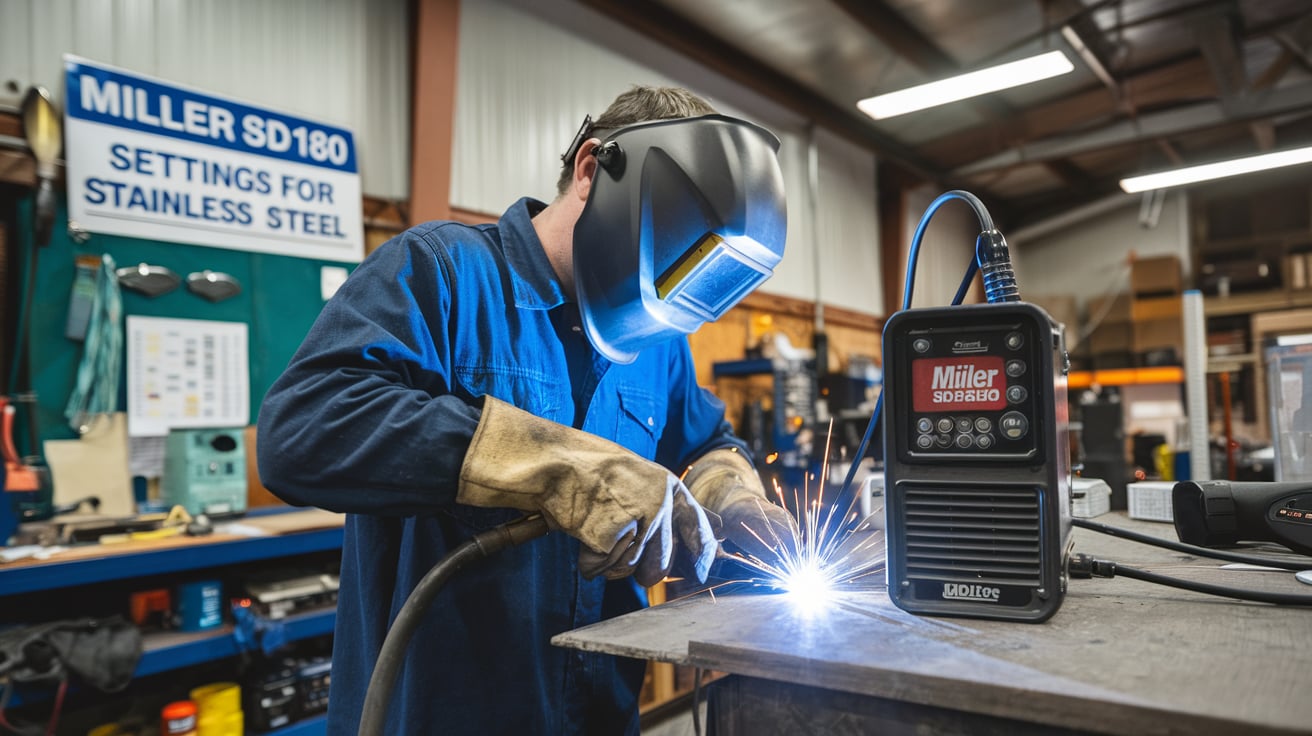
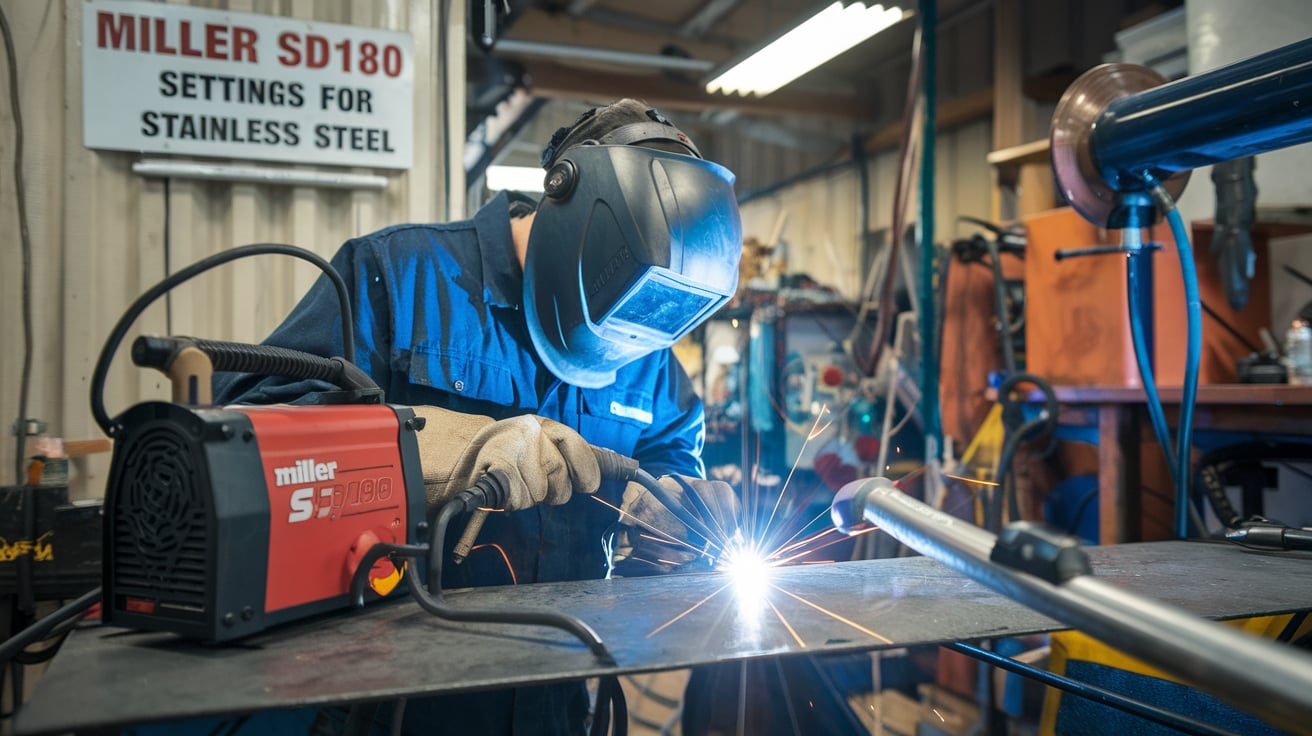
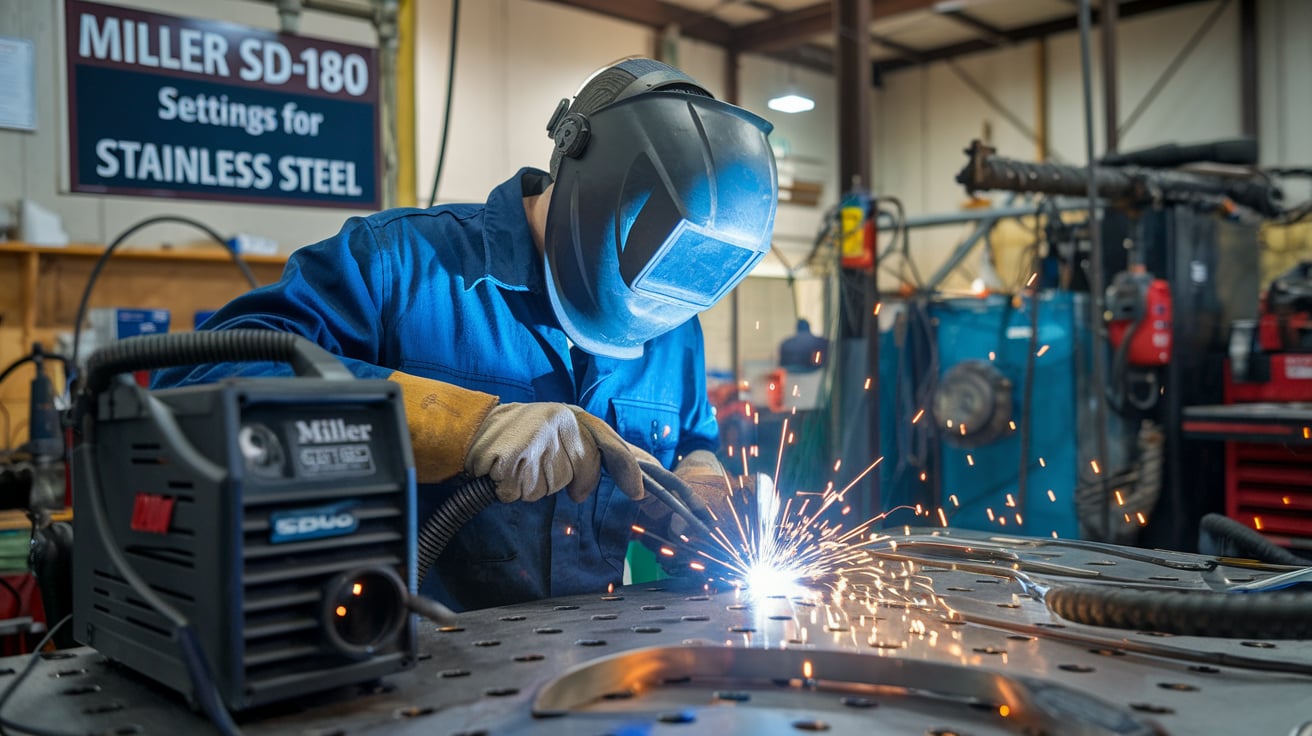
Welding stainless steel can seem daunting, but with the proper Miller SD180 settings for stainless steel, it becomes a walk in the park—albeit a park with a few sparks flying around. If you’re diving into this world with the Miller SD180, you’re in for a treat. This machine is versatile, and when you have the proper Miller SD180 settings for stainless steel, you can achieve fantastic results.
Understanding the Miller SD180
The Miller SD180 is a power-packed welding machine designed for various applications. It’s regarded for its reliability and simplicity of use. Whether you’re a hobbyist or a seasoned welder, this machine can deliver high-quality results. But before you dive into those sparks, let’s discuss the Miller SD180 settings for stainless steel.
Why Focus on Stainless Steel?
Before we dive into the settings, let’s discuss why stainless steel is a go-to material for many projects. It’s far sturdy, long-lasting, and immune to corrosion. It’s the superhero of materials, saving structures and items from the relentless grip of rust. So, mastering the Miller SD180 settings for stainless steel is crucial for your welding success.
The Basics of Welding Settings
Regarding the Miller SD180, a few key settings will make or break your stainless steel project. These include:
- Amperage: This controls the heat and penetration of the weld.
- Voltage: Adjusting this affects the arc stability.
- Wire Feed Speed determines how quickly the filler material is fed into the weld pool.
- Gas Flow Rate: Essential for shielding the weld from contamination.
Let’s break these down further to find the sweet spot for stainless steel using the Miller SD180 settings for stainless steel.
Miller SD180 Amperage Settings for Stainless Steel
First off, let’s talk amperage. For stainless steel, the general rule is to start with an amperage range of 80 to 150 amps. You may need to adjust based on the thickness of your material. Here’s a quick guide:
- Thin Stainless Steel (16-20 gauge): Start around 80-100 amps.
- Medium Stainless Steel (14-16 gauge): Set between 100-120 amps.
- Thick Stainless Steel (1/8 inch and above): You may need to crank it up to 120-150 amps.
Remember, more amperage means more heat—too much can burn through your material like a hot knife through butter. So, always start on the lower end and increase as needed to find the ideal Miller SD180 settings for stainless steel.
Voltage Settings: Finding the Right Arc
Next, we have voltage settings. For stainless steel, you generally want to set your voltage between 18 and 24 volts. Here’s the scoop:
- Lower Voltage (18-20 volts): Great for thin materials needing tighter control.
- Higher Voltage (20-24 volts): Better for thicker materials, providing a broader bead.
Consider voltage as the power of your arc. Too high, and you may end up with a pool of melted metal that resembles modern art. Too low, your weld may lack penetration, resembling a sour pancake. It’s all about finding the proper Miller SD180 settings for stainless steel.
Wire Feed Speed: Keeping it Steady
Wire feed speed (WFS) is crucial when welding stainless steel with the Miller SD180. This controls how fast your filler wire is fed into the weld pool. A good starting point for WFS with stainless steel is 200-300 inches per minute (IPM).
- Slow WFS (200-250 IPM): Better for thinner materials; it allows for more control.
- Fast WFS (250-300 IPM): This works well with thicker stainless steel, but you must be quick on the trigger.
Adjust the wire feed speed based on how your weld is looking. If it appears too cold, you might need to increase the speed; if it’s too hot and messy, slow it down. These adjustments are vital to mastering the Miller SD180 settings for stainless steel.
Shielding Gas Flow Rate: The Unsung Hero
Now, let’s not forget about the shielding gas. For stainless steel welding, you typically want to use 75% argon and 25% CO2 or pure argon. The gas protects your weld from oxidation and contamination.
The flow rate is generally between 15 and 25 cubic feet per hour (CFH), with 20 CFH being a good starting point. Adjust your gas flow accordingly if you notice excessive spatter or poor arc stability. Ensuring the correct shielding gas is a crucial part of the Miller SD180 settings for stainless steel.
Setting Up Your Miller SD180
Now that we’ve covered the basics let’s set up your Miller SD180 for stainless steel.
- Select the Right Electrode: ER308L is an excellent option when working with stainless steel.
- Connect the Ground Clamp: Ensure it’s secure; a poor connection can lead to a lack of penetration.
- Set the Machine Settings: Start with our previously mentioned amperage, voltage, WFS, and gas flow.
- Select Your Torch: Make sure your torch is compatible and in good condition.
- Test Run: Always do a test weld on scrap material before diving into your main project. This will give you a good idea of whether adjustments are necessary based on the Miller SD180 settings for stainless steel.
Troubleshooting Common Issues
Even the best welders can run into issues. Here are some common problems you might face while welding stainless steel and how to fix them using the Miller SD180 settings for stainless steel:
1. Excessive Spatter
If you’re experiencing spatter, it may be due to incorrect voltage or wire feed speed. Lower the voltage or reduce the wire feed speed to minimize the spatter.
2. Incomplete Penetration
If your weld isn’t penetrating the material well, increase the amperage. You may also want to adjust the angle of your torch to ensure better access to the base metal, ensuring you’re utilizing the proper Miller SD180 settings for stainless steel.
3. Porosity
Porosity occurs when there are holes in the weld. This could be due to contamination. Make sure your material is clean, and check your gas flow rate. Adjust if necessary to ensure a proper shield, as good shielding gas is part of the Miller SD180 settings for stainless steel.
4. Warping
To avoid warping, try to maintain a consistent travel speed and avoid overworking any particular area. If you’re working with thin materials, a lower heat setting is beneficial, emphasizing the importance of correct Miller SD180 settings for stainless steel.
Safety First: Gear Up!
Before you start welding, remember that safety is paramount. Always wear appropriate protective gear:
- Welding Helmet: Protect your eyes from UV rays and sparks.
- Gloves: maintain your fingers secure from warmth and sharp items.
- Protective Clothing: Wear long sleeves and flame-resistant materials.
You may feel like a superhero in your welding gear but don’t forget to check your workspace. Make sure it’s clean and free from flammable materials. Safety first, sparks later!
Practice Makes Perfect
Remember, mastering the Miller SD180 settings for stainless steel is not an overnight process. The more you exercise, the better you’ll get.. Welding is an art and a science, so don’t be afraid to experiment with different settings.
Final Thoughts
Welding stainless steel with the Miller SD180 can be a rewarding experience when you get your settings just right. You can produce clean, strong welds by keeping your amperage, voltage, wire feed speed, and gas flow in check.
And remember, while it’s essential to take your work seriously, don’t forget to enjoy the process. Welding is a skill that takes time to develop, and every spark is a step toward mastering your craft. So, fire up that Miller SD180, and let’s make some sparks fly safely!
Conclusion
In summary, the proper Miller SD180 settings for stainless steel will elevate your welding game. With the appropriate technique and a pinch of humor to lighten the mood, you’ll craft stunning stainless steel projects in no time. Just keep practicing, stay safe, and who knows? You might become the stainless steel welding guru you always dreamed of being!
So grab that welding torch, and remember: the only thing hotter than the arc is your newfound welding skills! Embrace the journey, and let those Miller SD180 settings for stainless steel lead you to a bright, shiny, and spark-filled future!


